What's new

Wings3D, Help thread (NL)

^Hmm.... sorry if this can be considered spam, but...

I think you can try a tube object, then size it as you want, and chop off three quarters of it. Or take a flat block, and cut two parallell sides into 20-30 or so parts each, get them connected so you've got a 30(or so) x 1 grid, then adjust the height of the lines. Hard to explain, but I think that would work.
 
^ You could use "Magnet" move or bend, just look at the tutorials I link to on the first post.

They have also released a 0.99.03, so it could be an idea to update.
 
Hmm, ok. Looks like I'll be using Magnet to bend some od the objects into round objects so they don't look so flat and lame.
 
^ I'm not sure on that one. I know that you can add light sources that you can use when you render an image in Wings.

But I'm pretty sure that NL can't handle light sources in any 3ds. So it wouldn't be possible.
 
Easy, you make the area around the candle lightened, and the farther the distance, the less light there is. You have to do it with textures, so you better be good at them.
 
^ I mean a Lightsource that will light the objects and give them shadows, somewhat like the sun is in NL.
 
Texturing (take 2)

So I got some requests to make a better version of how to texture stuff in Wings3D. So here comes a a version with lots of Pictures (sorry about the size, but If I scaled them you wouldn't be able to read).

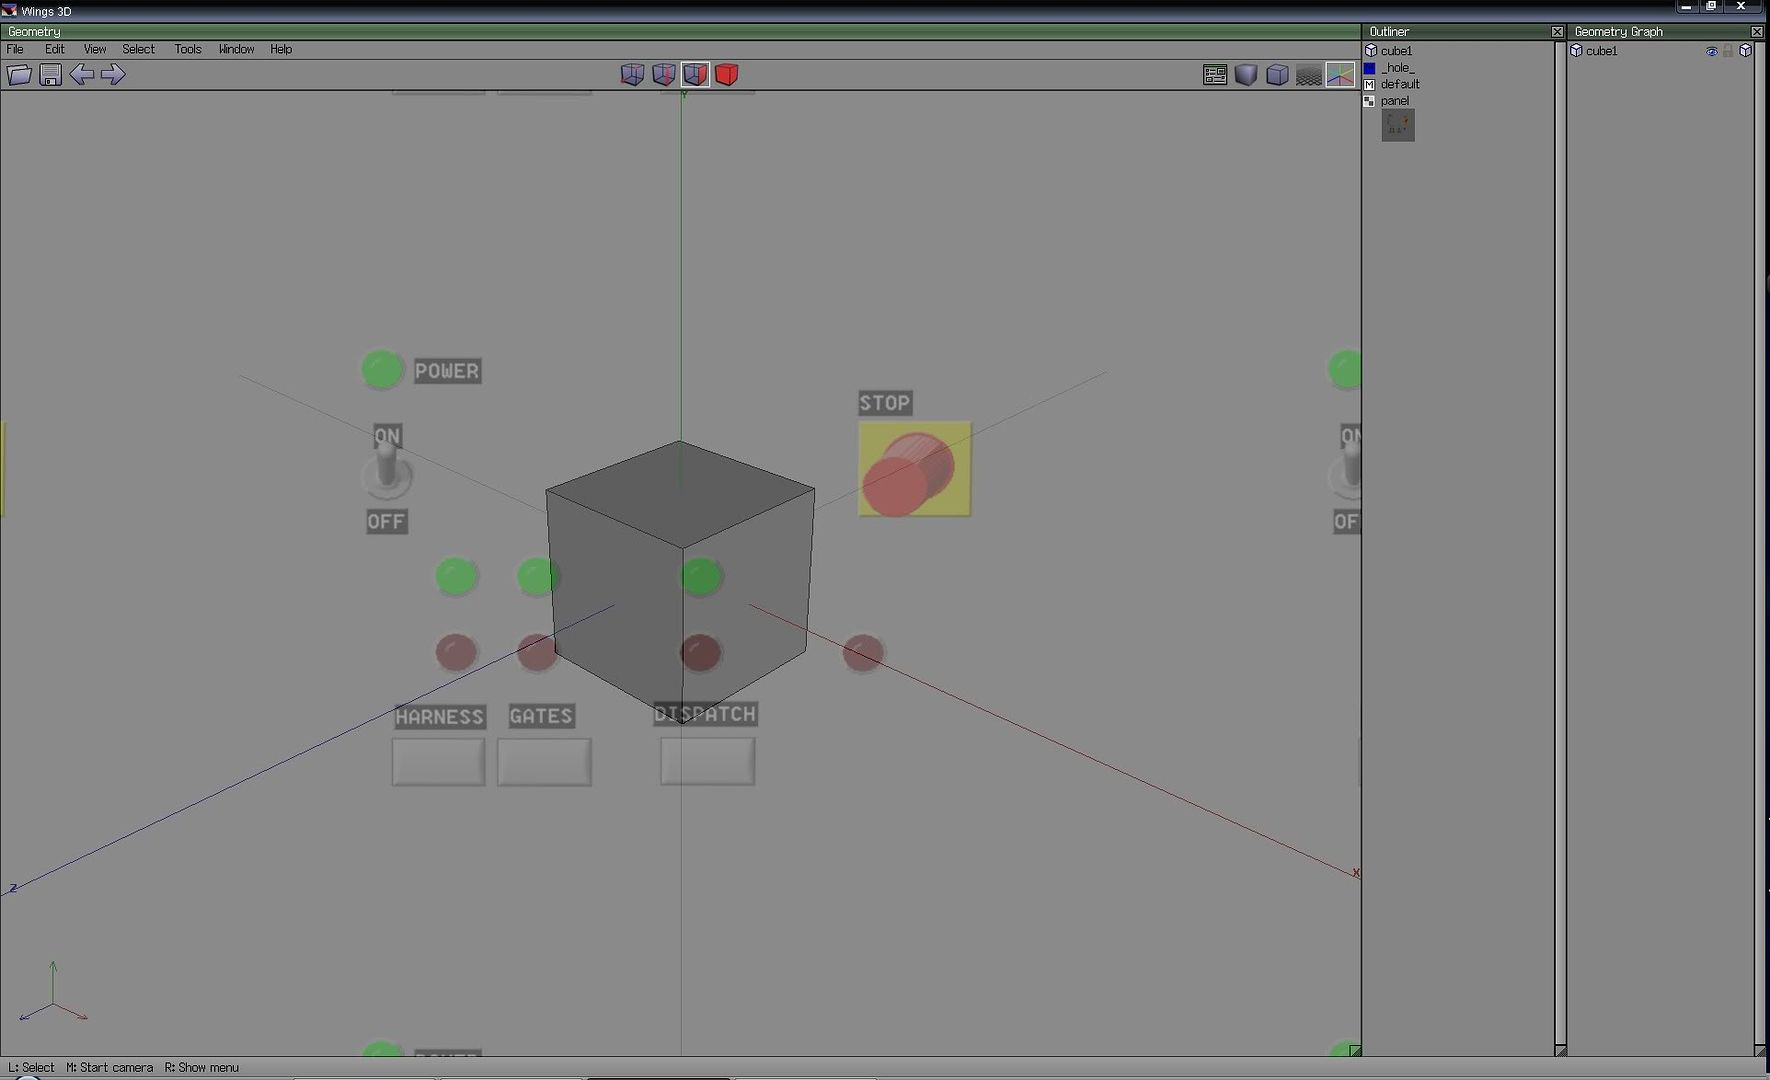
1. Create your object
texture.jpg

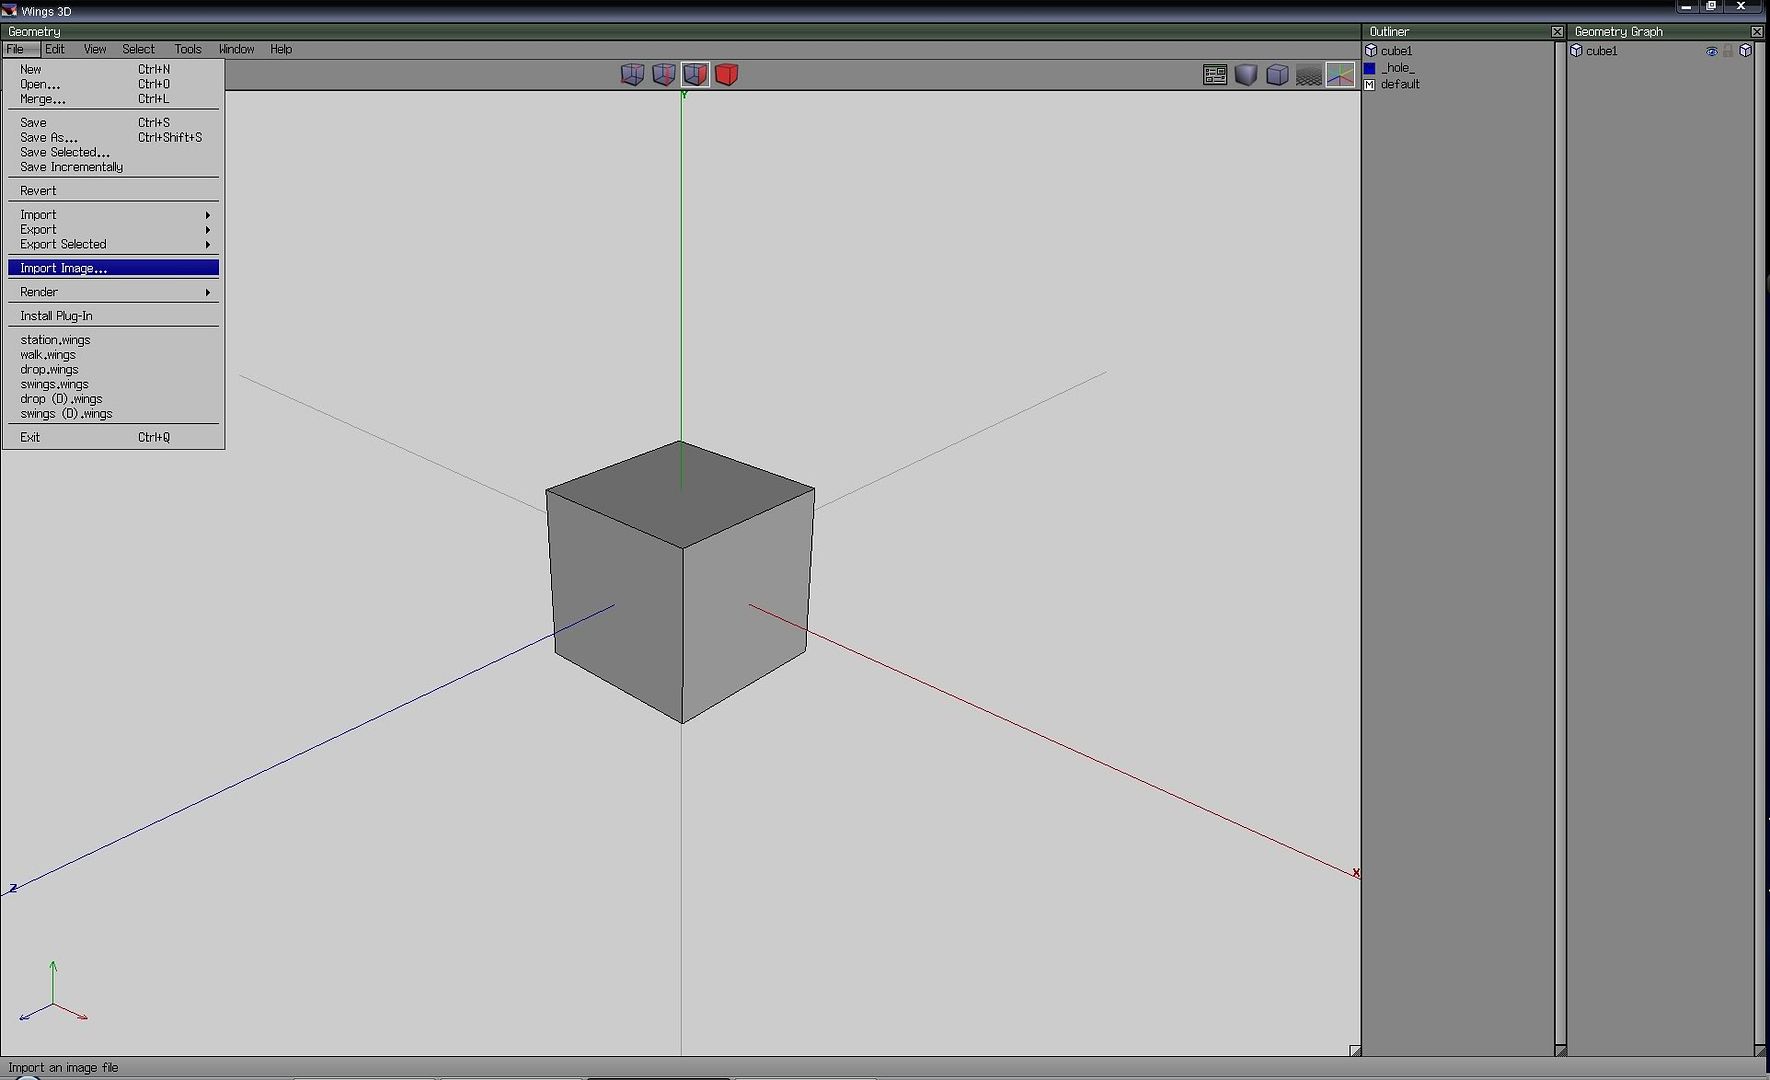
Look a cube!!

2. File > Import Image
texture_02.jpg
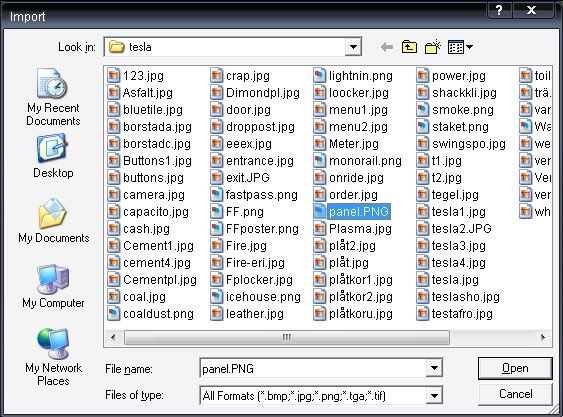
This imports the image, do this with every texture you want to use on the object. Imported images will appear in the "Outline" window

3. Pic Image
texture_03.jpg


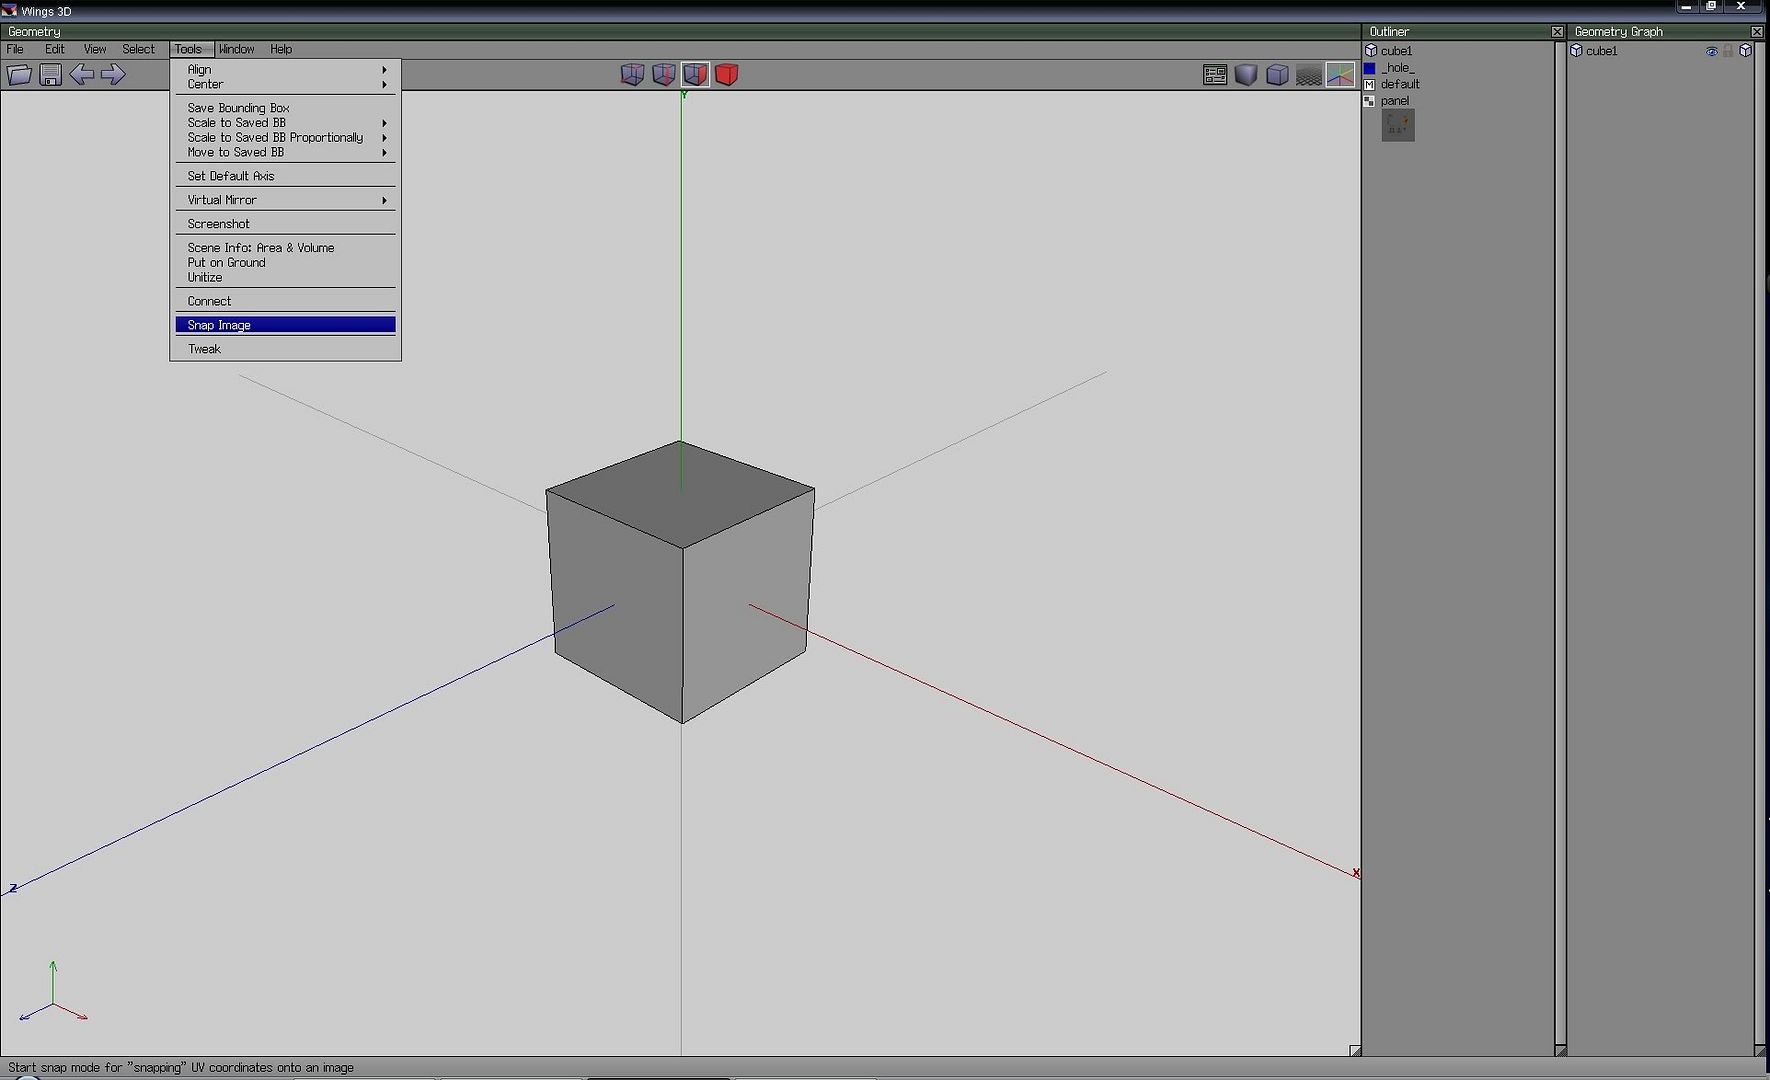
4. Tools > Snap Image
texture_04.jpg


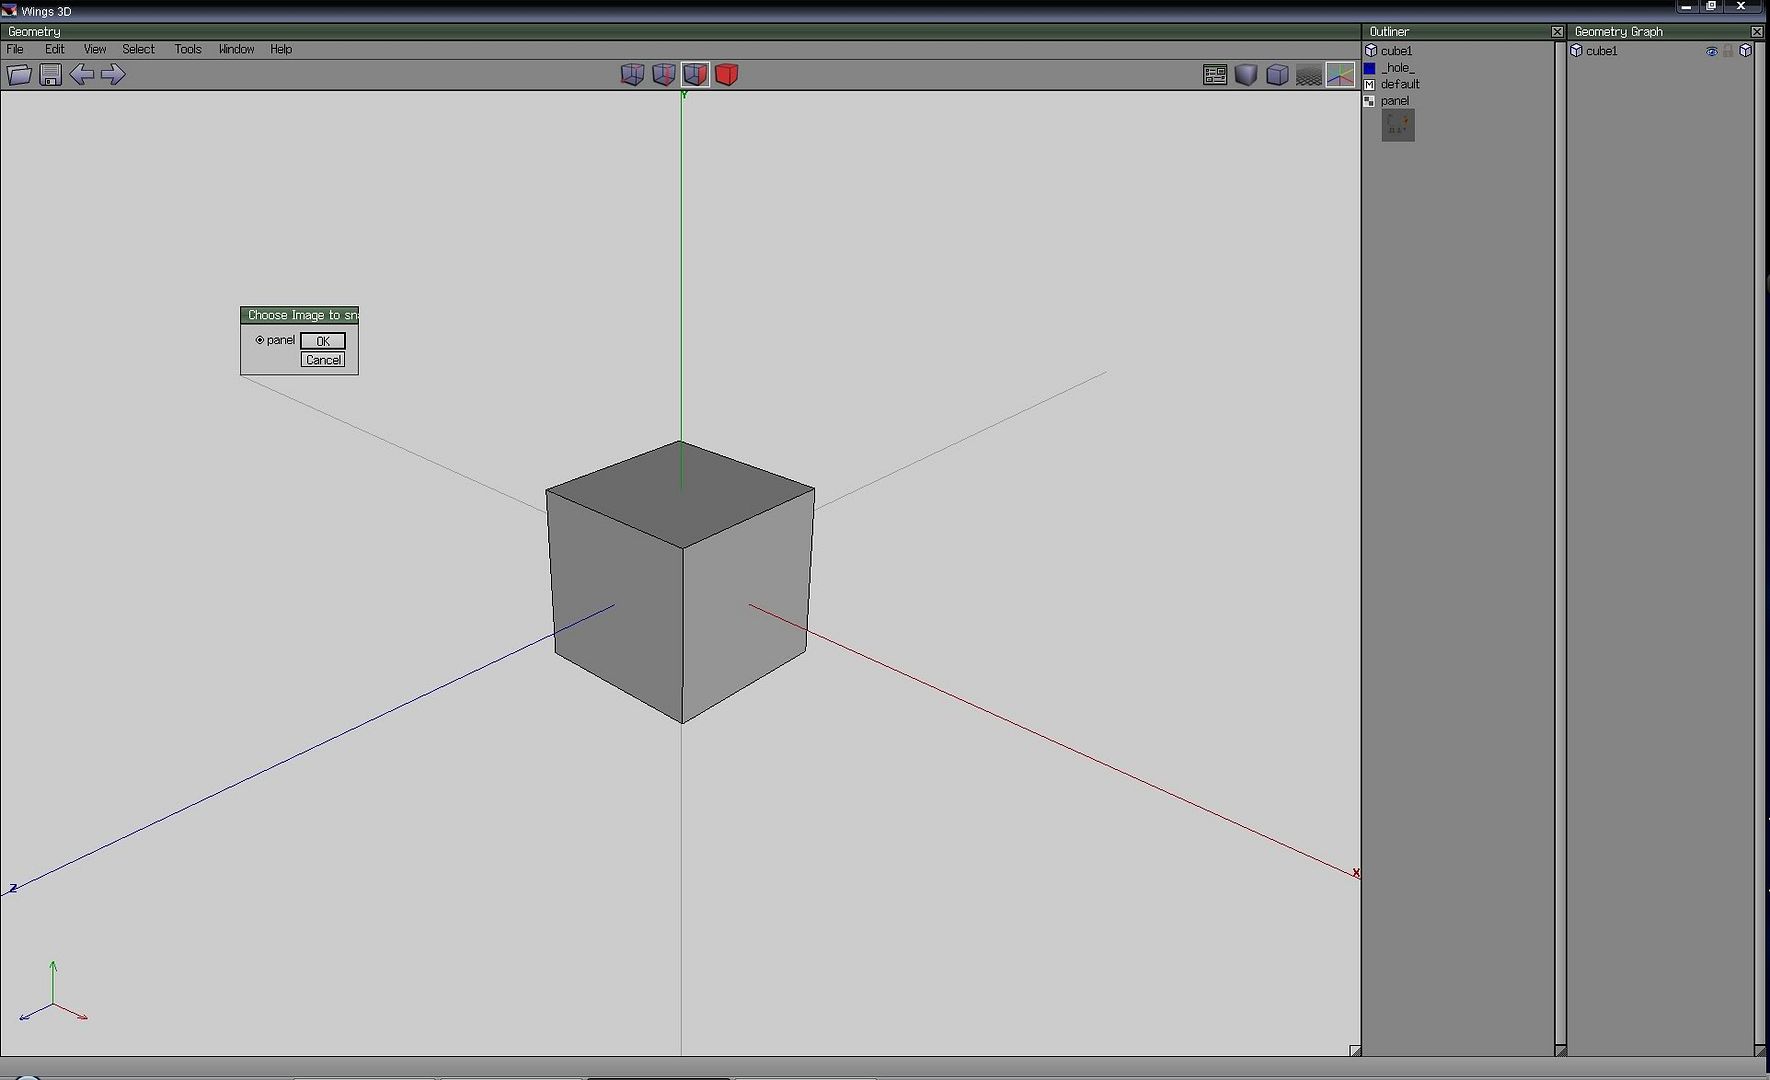
5. Choose which image to add.
texture_05.jpg


6. After you have chosen which picture to add, it looks like this (in this case).
texture_06.jpg


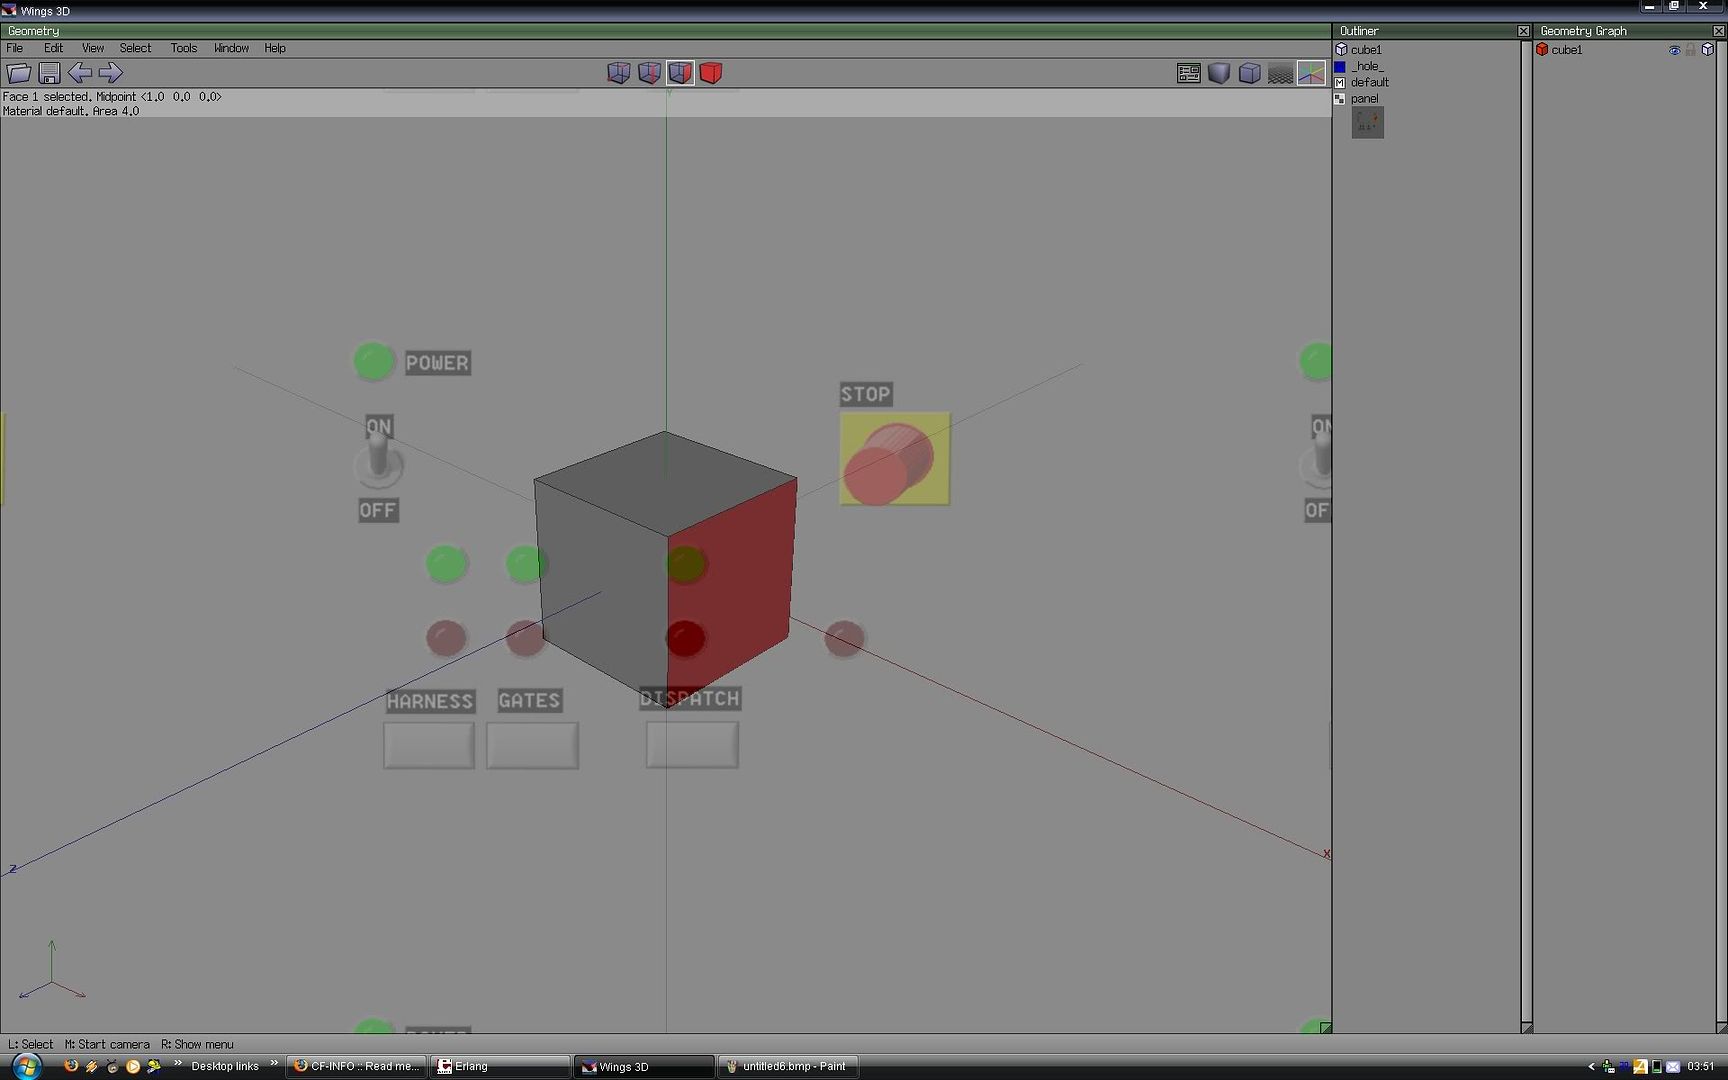
7. Select Surface
texture_15.jpg

You can select multiple surfaces, note that it will look better if they all face the same direction.

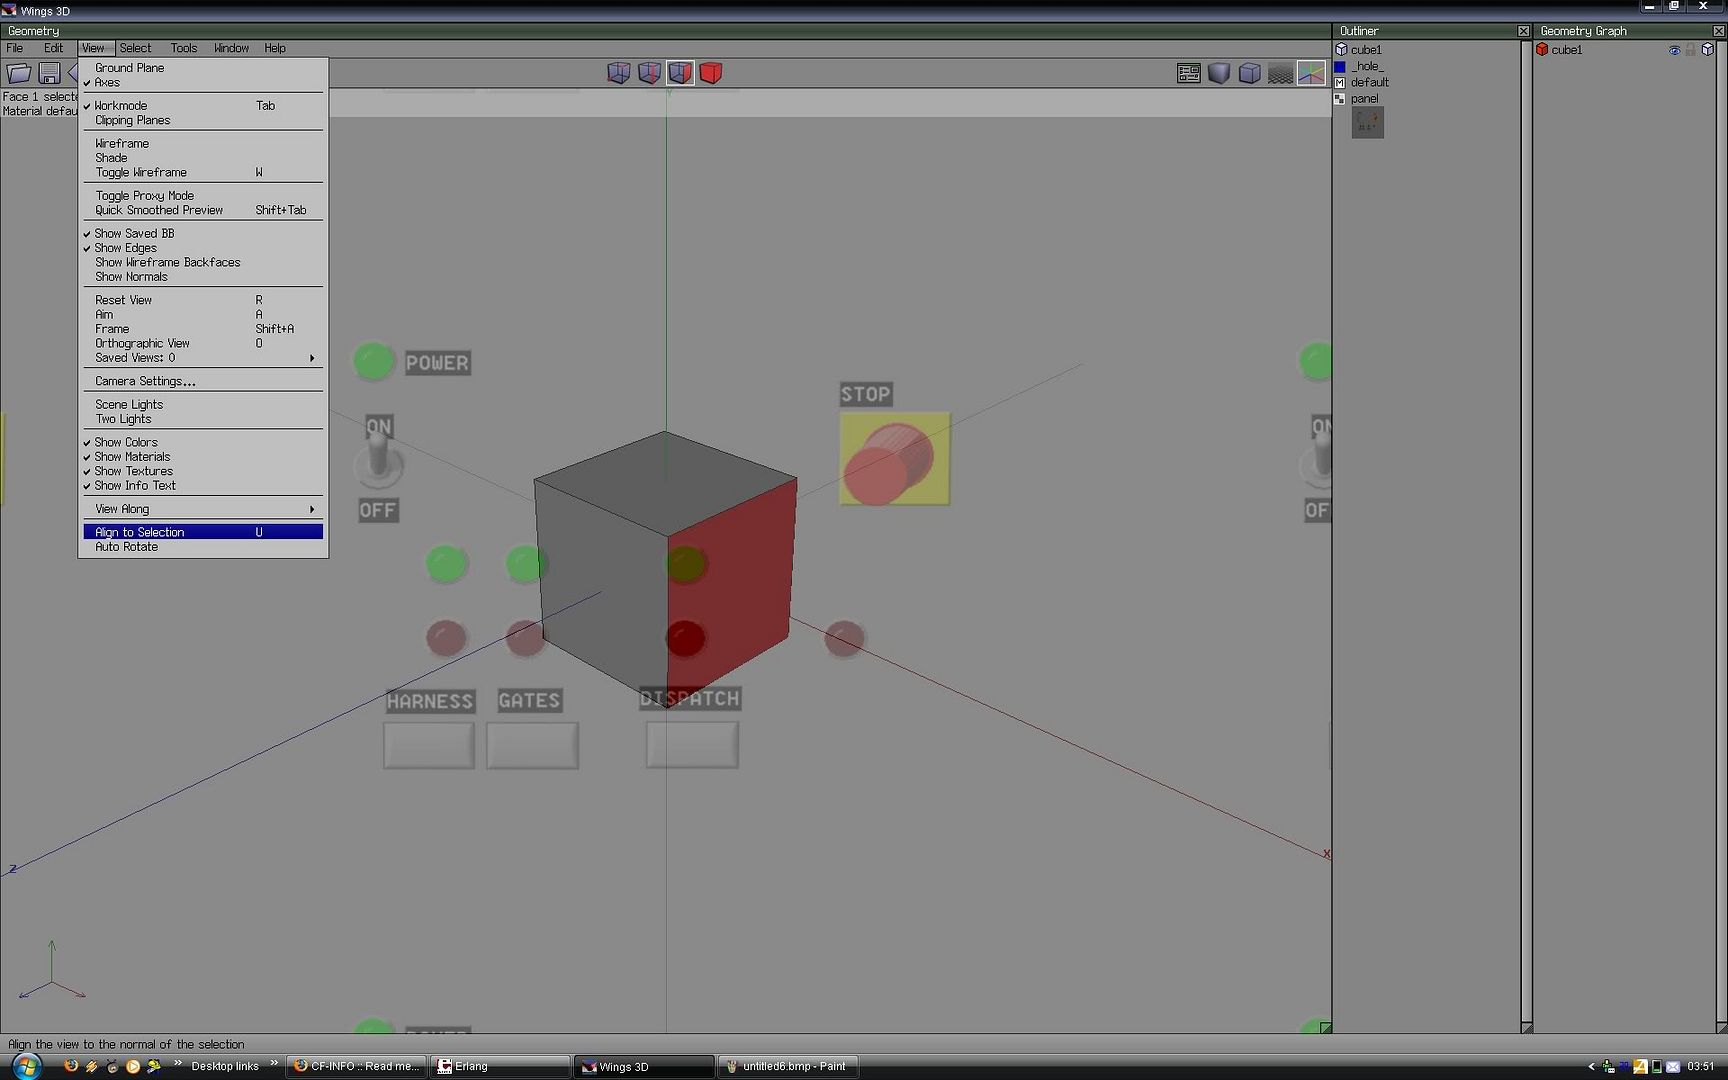
8. View > Align to Selection
texture_16.jpg

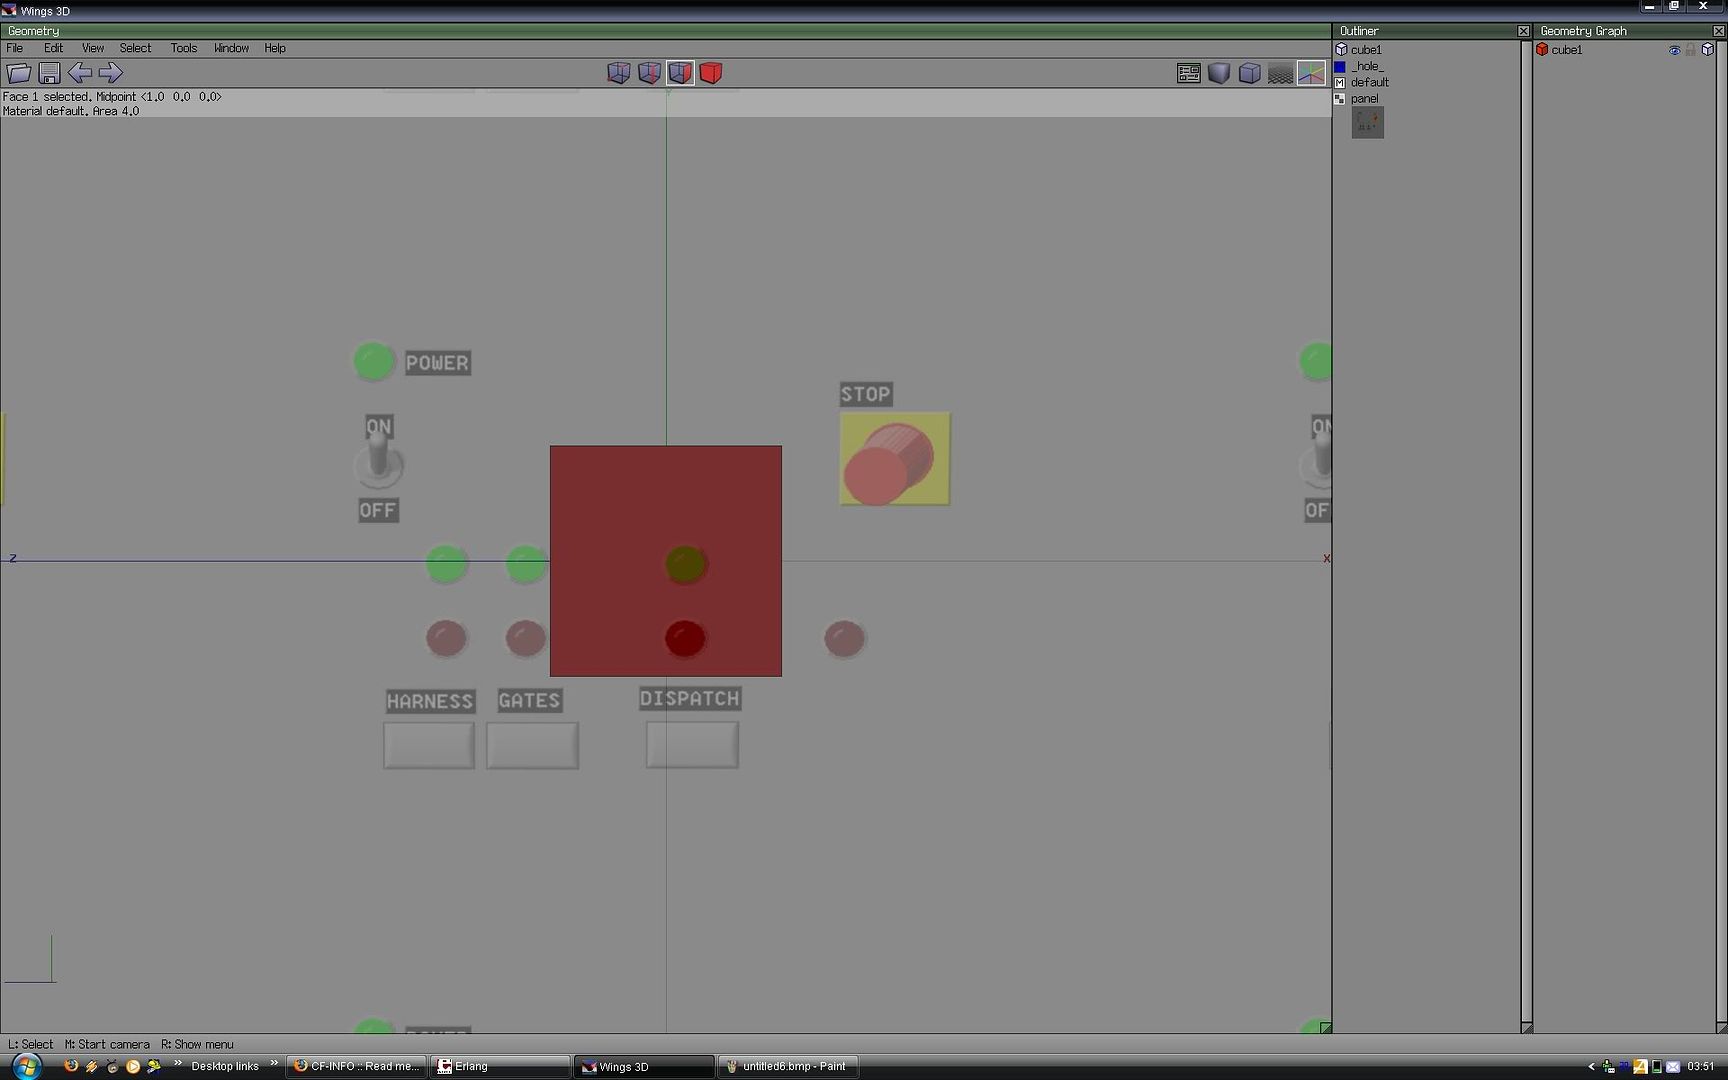
So you look right at the surface, for the best result (you can always rotate the camera manually).

9. Aligned
texture_14.jpg


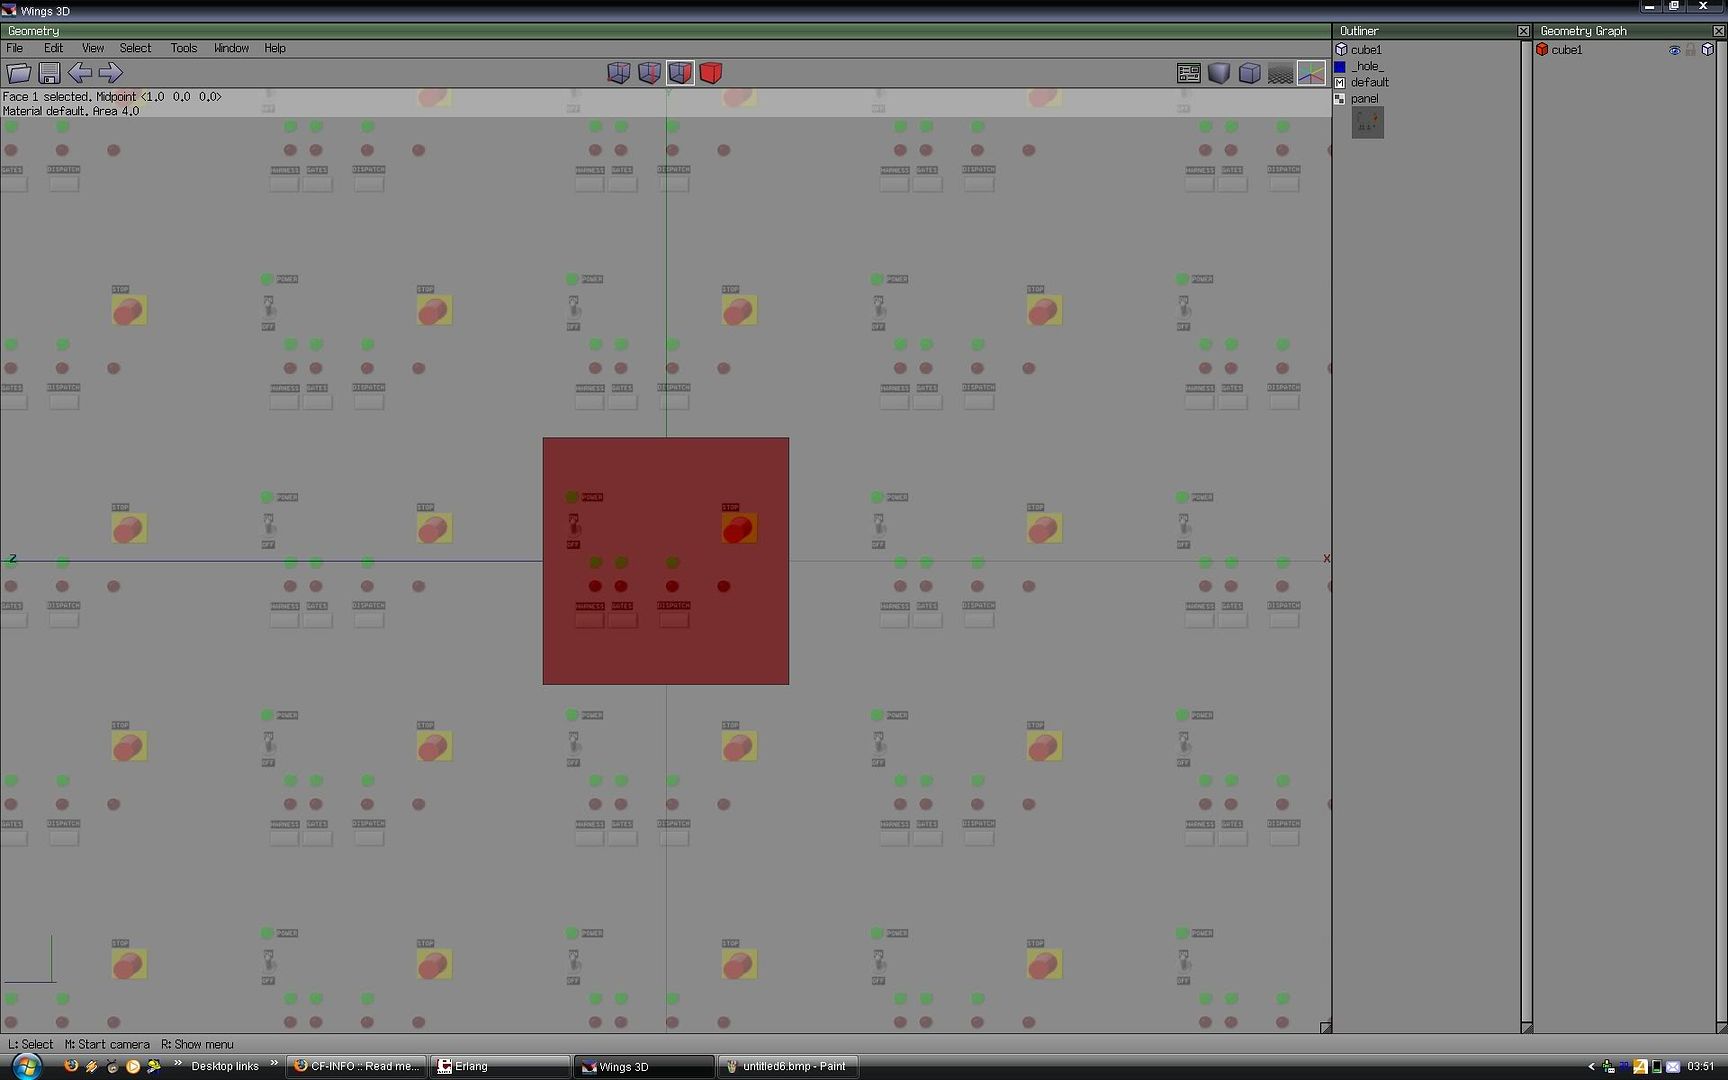
10. Fit image to the surface.

10a. Either zoom with the scroll wheel to fit the image
texture_13.jpg

Faster.

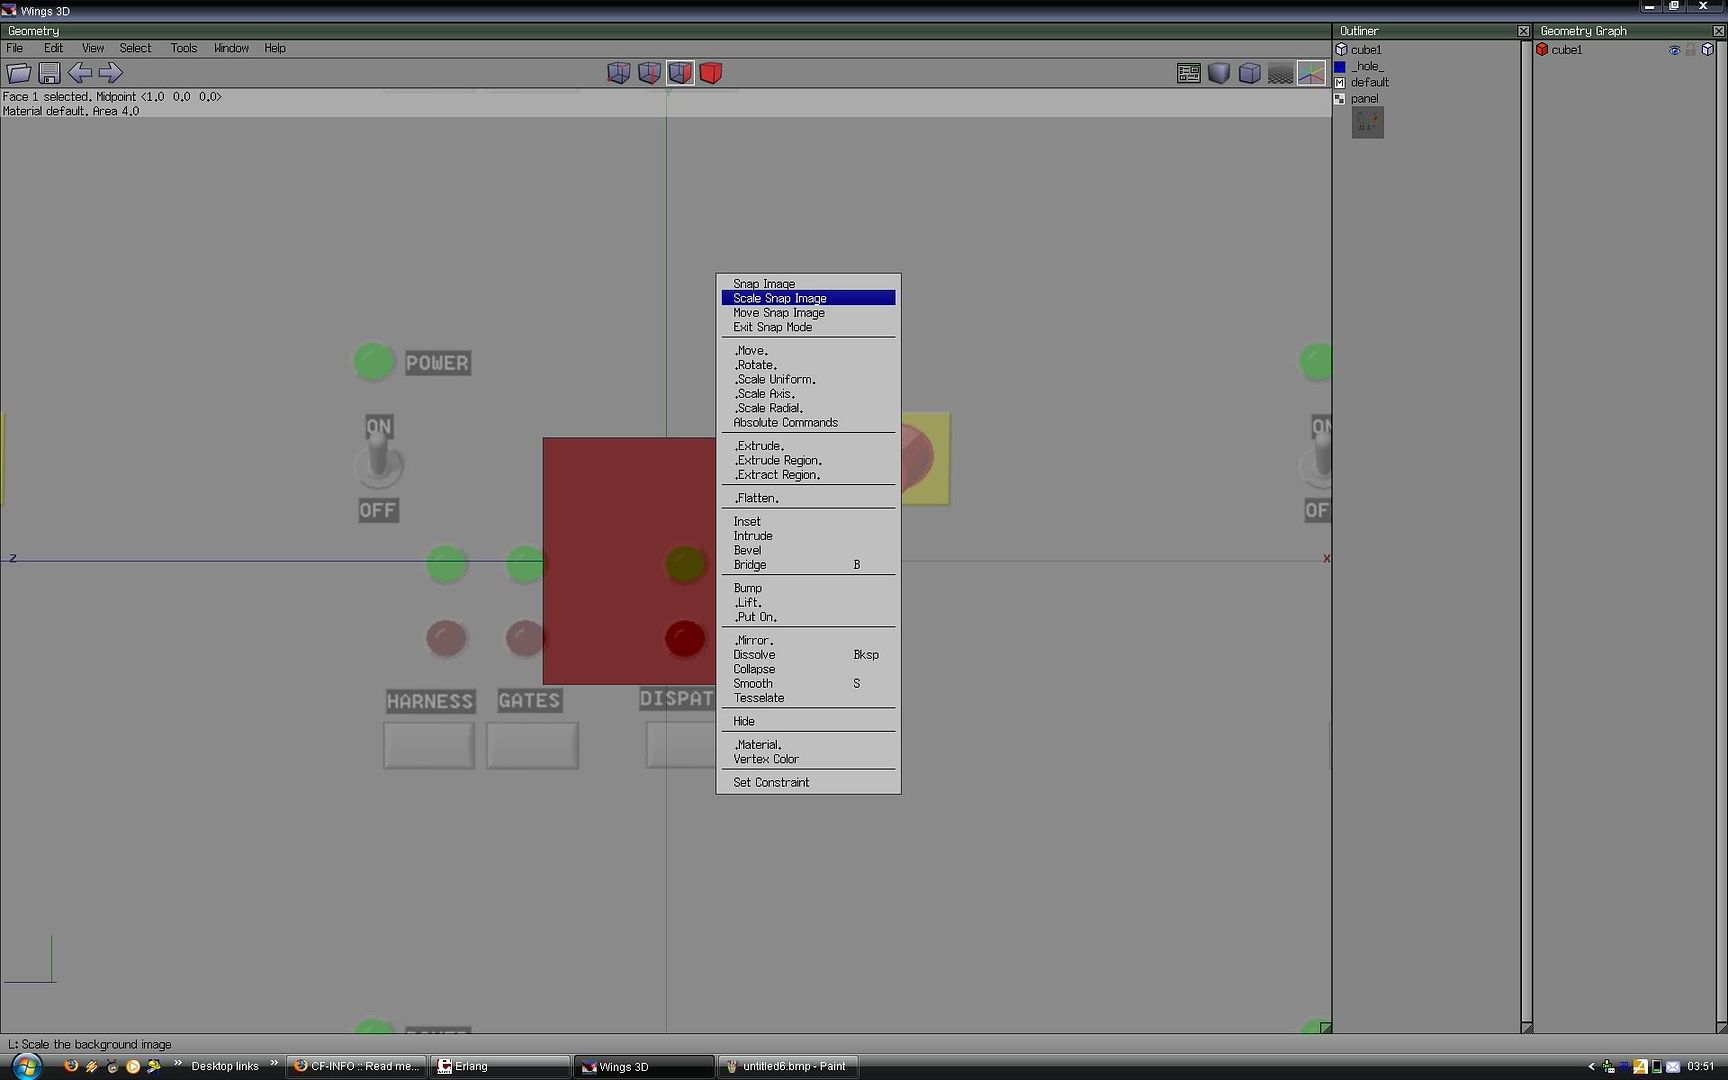
10b. Or scale/move the image (horizontal, vertical, free or uniform)
texture_11.jpg

You get better control this way.

11. Fitted image
texture_12.jpg


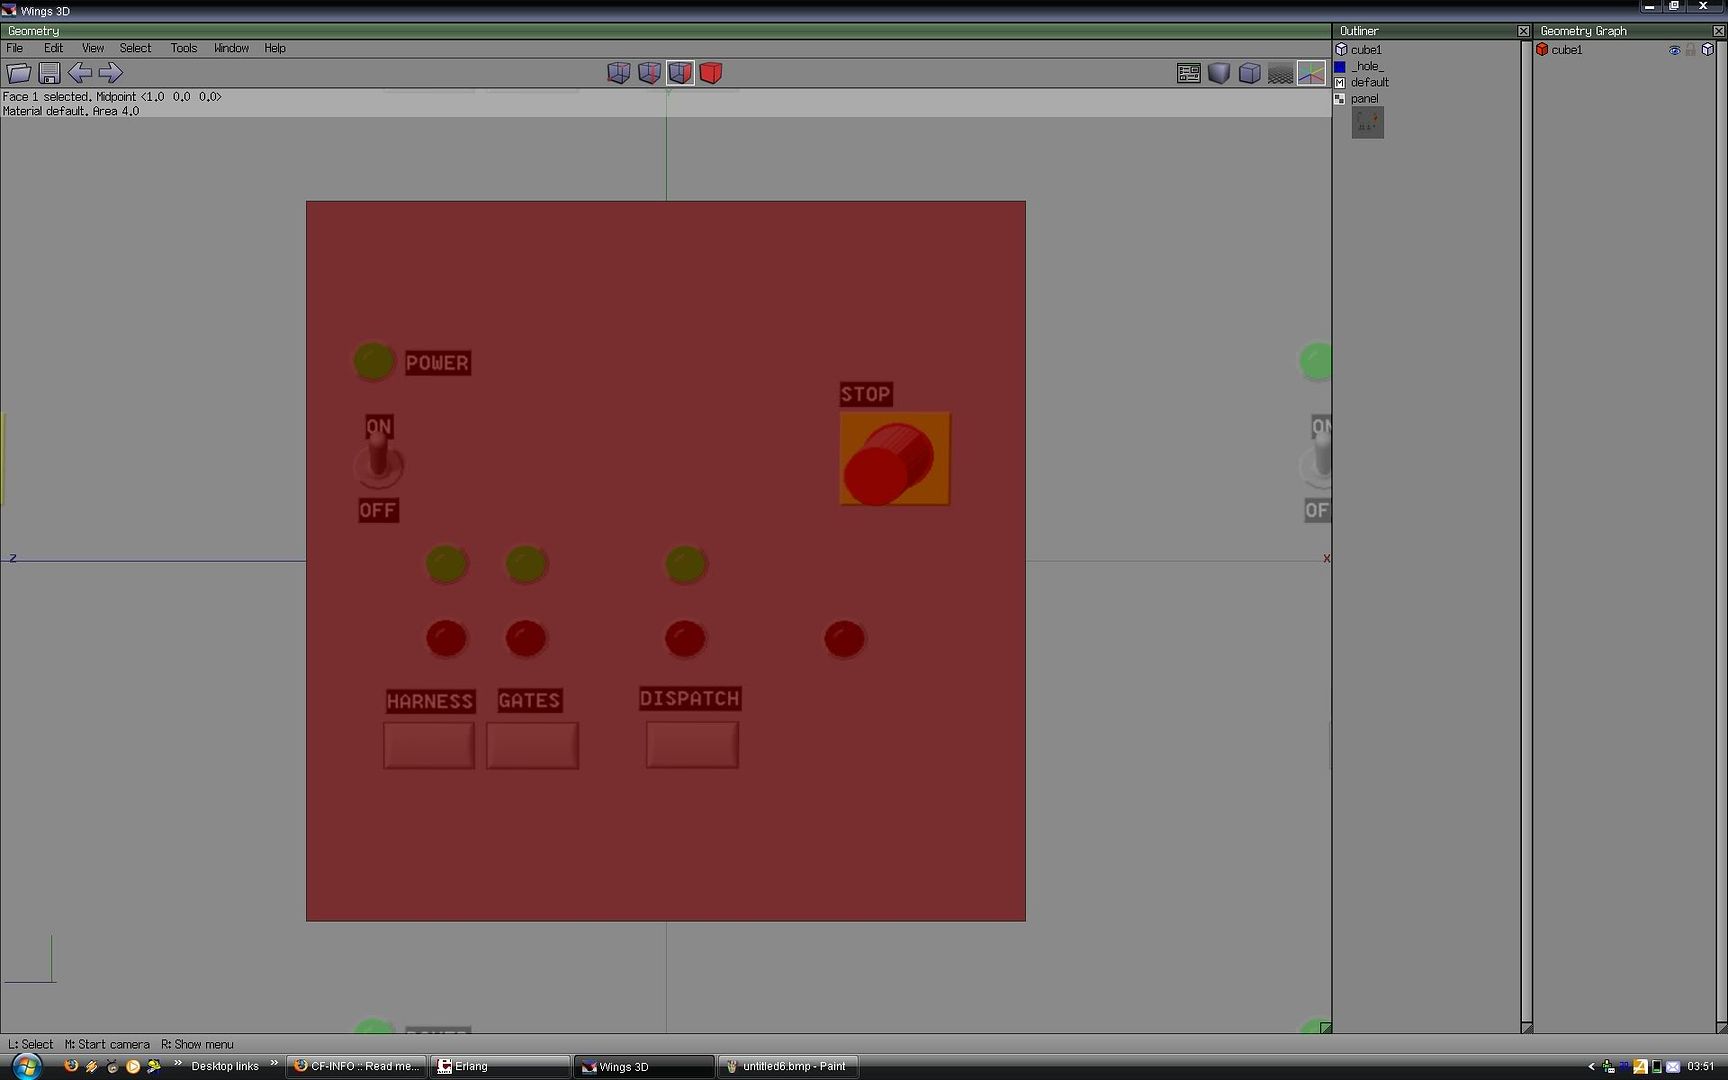
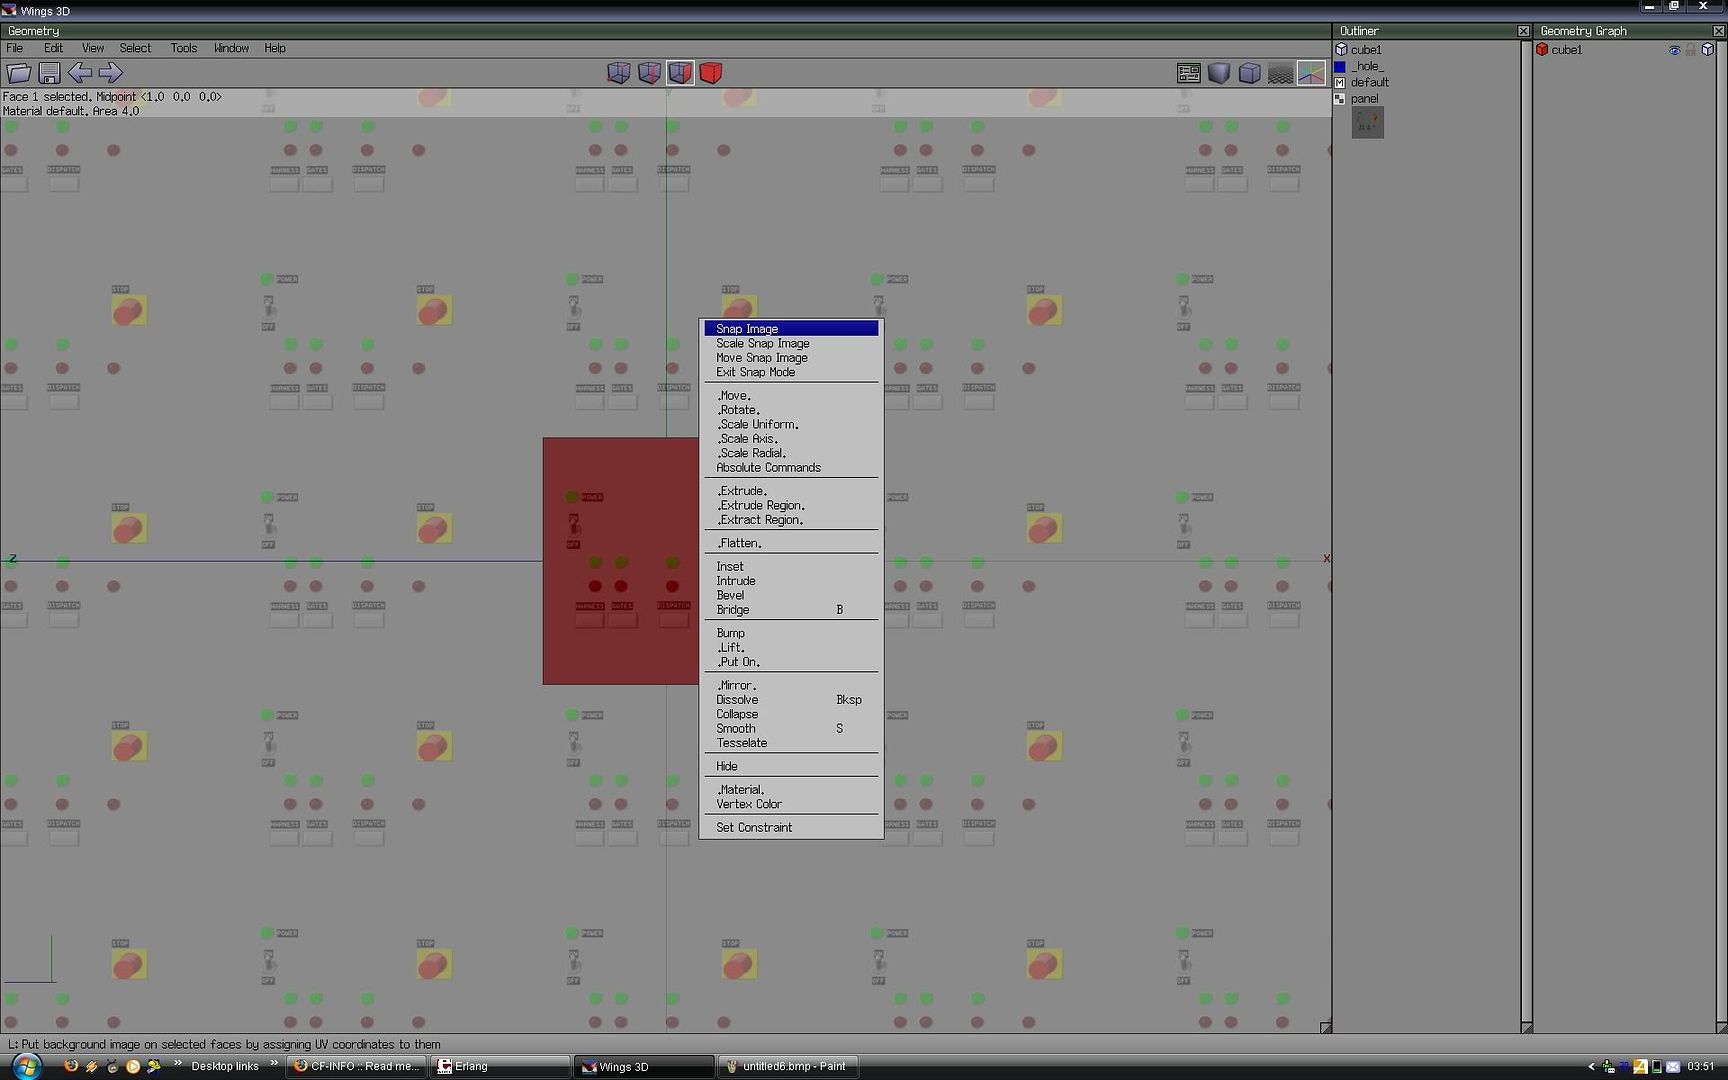
12. Snap!!
texture_10.jpg

Snap image to surface, now you get a material for the surface in the "Outliner".

Repeat 7-12 until you have added the texture you choose in step 5 to every surface you wanted it on.

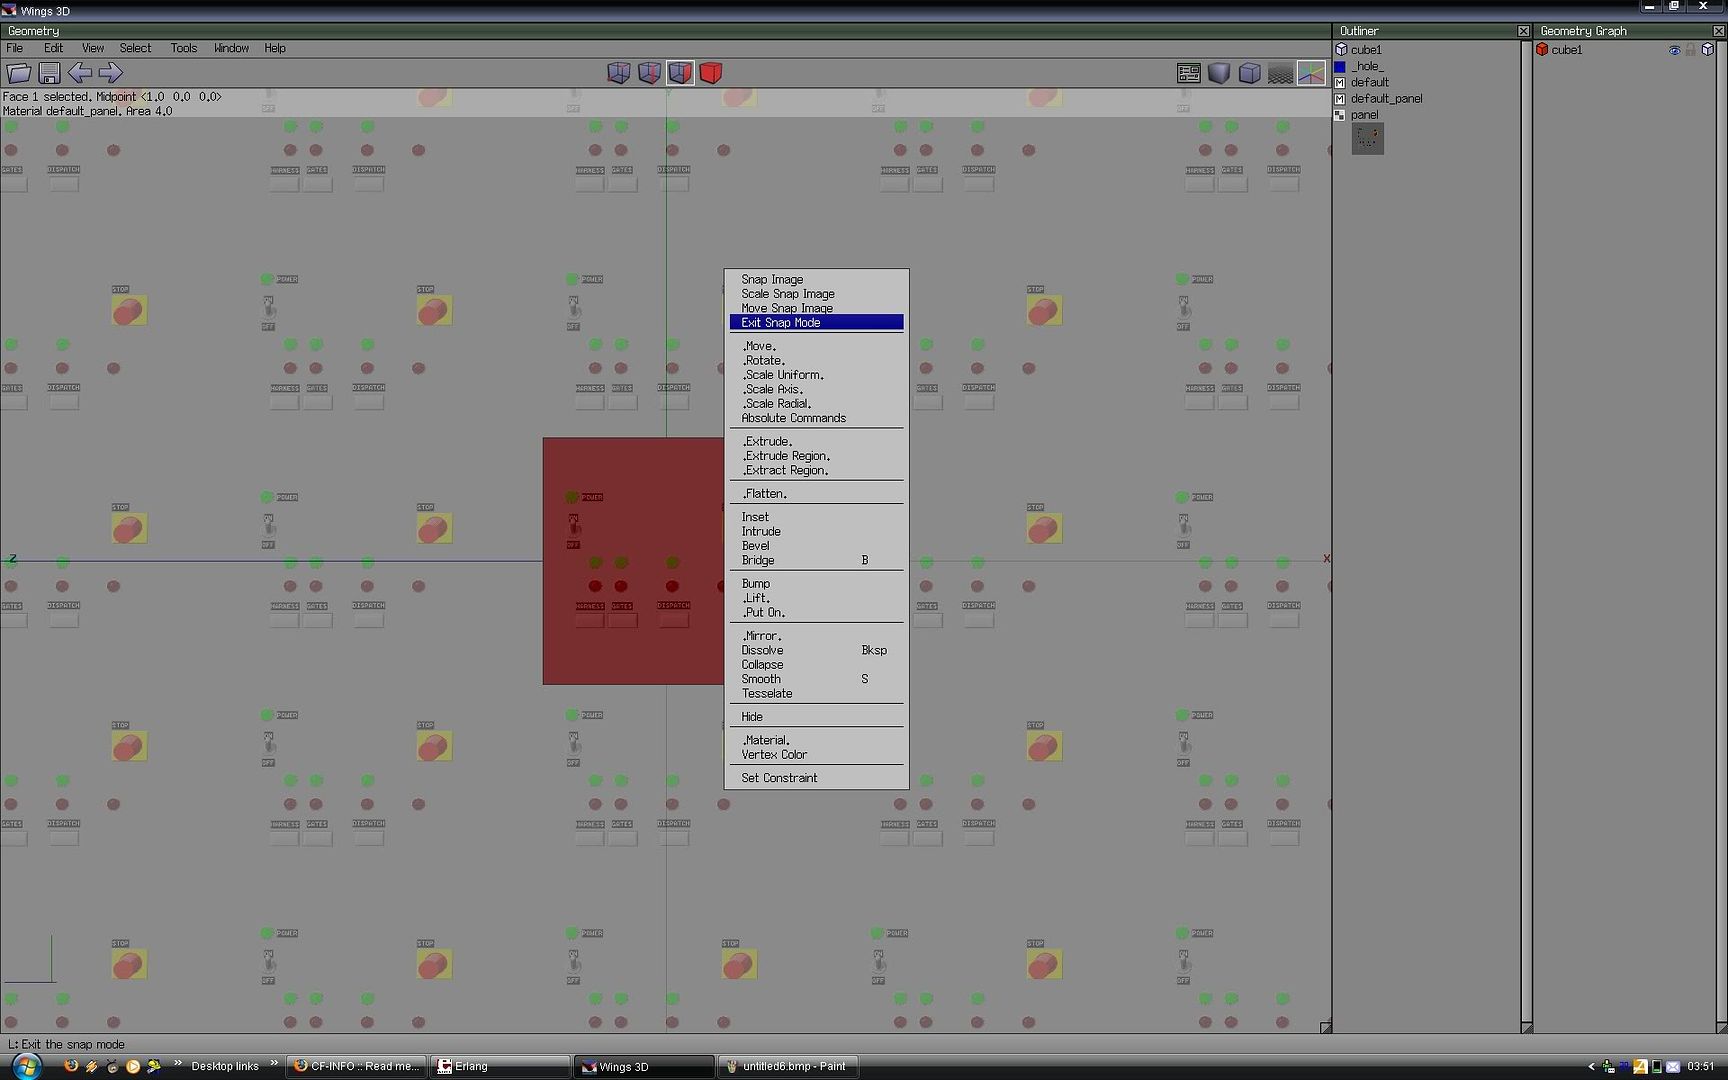
13. Exit Snap mode
texture_09.jpg


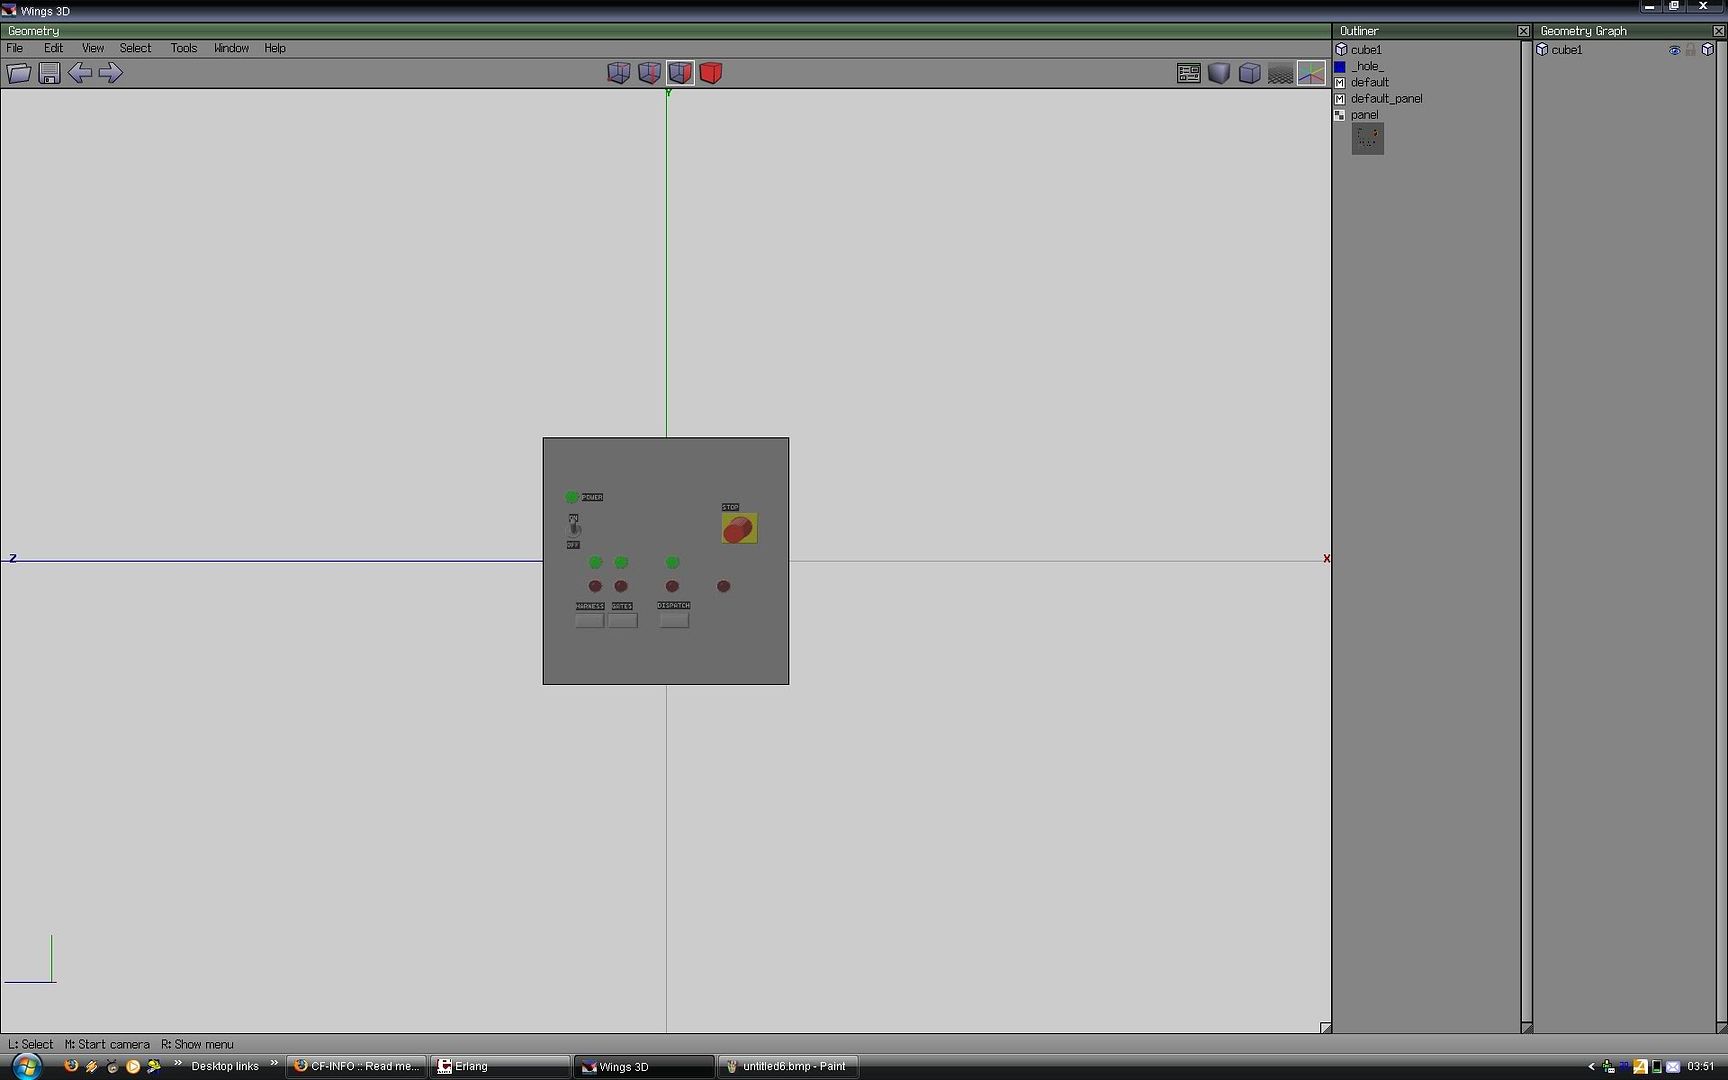
14. Unselect
texture_08.jpg

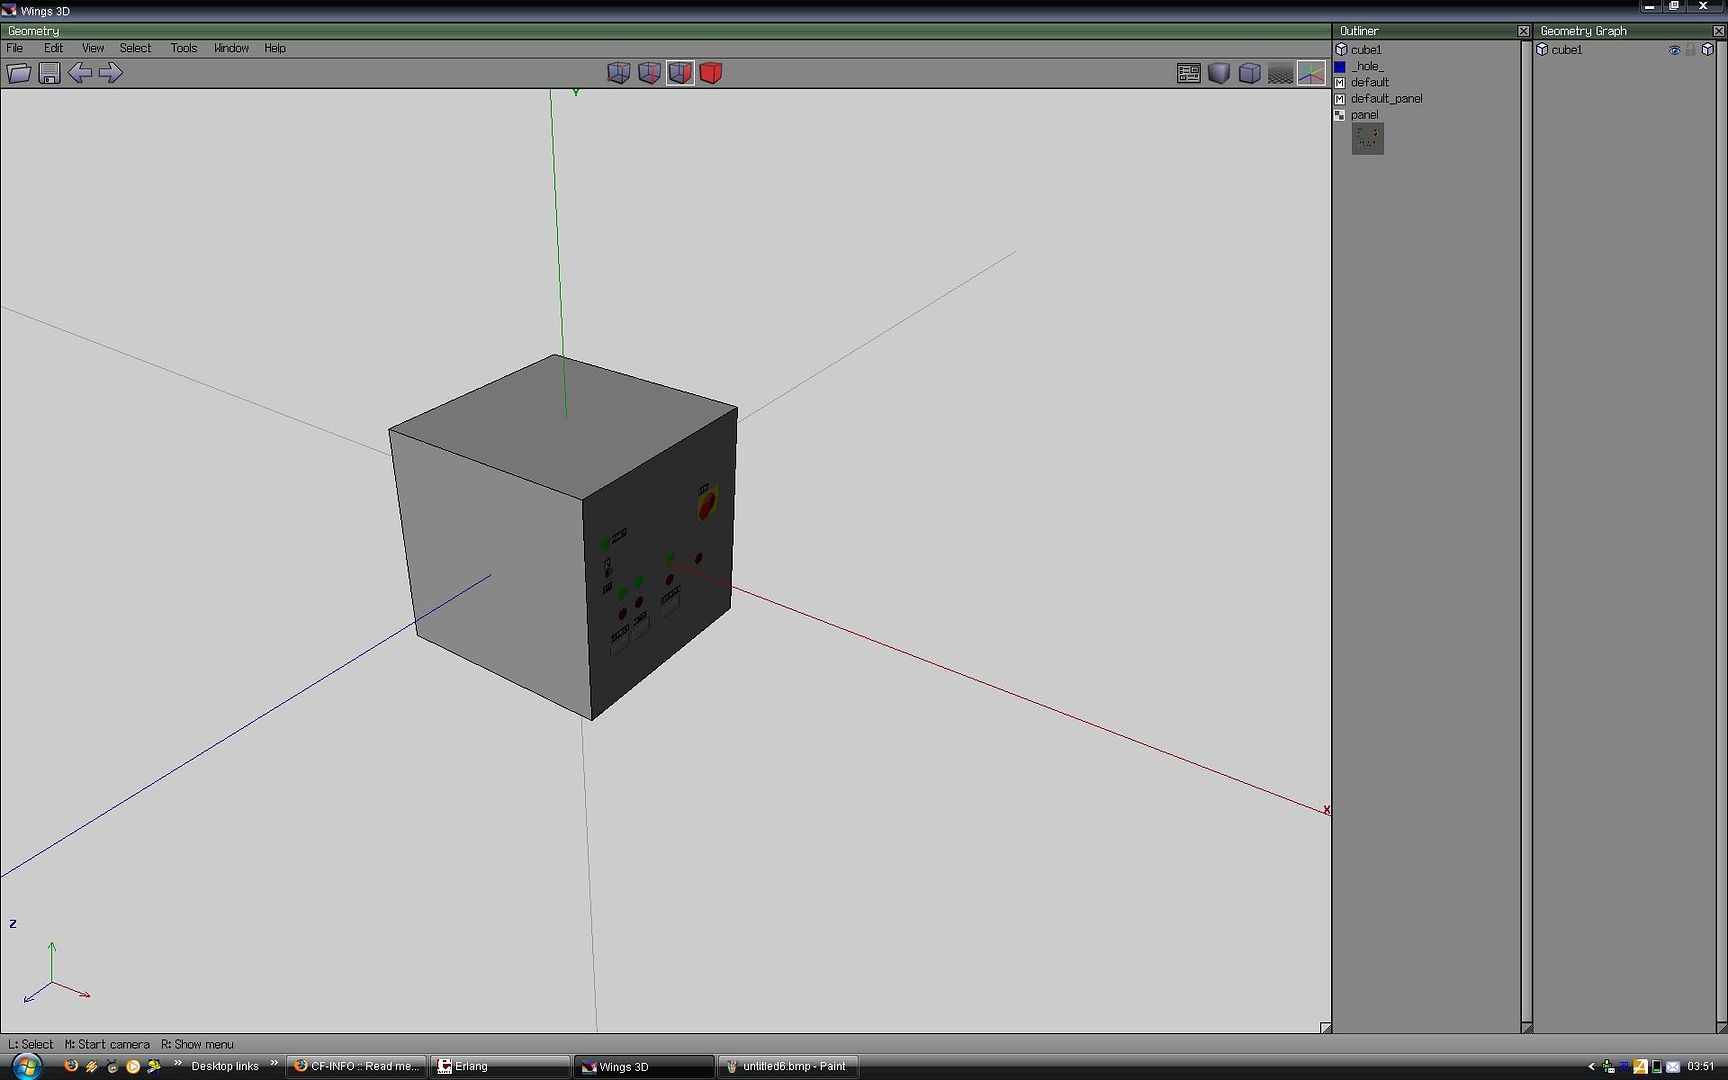
Added texture

15. DONE!!
texture_07.jpg

All done, just add more stuff/textures/materials and export to NL.

I hope that this version makes more sense.
 
^ I have no idea what kind of format you have to export to to be able to use them in RCT.
So maybe, maybe not.
 
Ollie said:
Can you use Wings to make scenery for RCT 1, 2 & 3?

1 and 2 use sprites ollie.

and with rct 3 there is a fan made exporter I think that changes it to the file you need.

Spam?
 
Also. What is the best way to find textures for objects as I've had to find most things through google images or texture websites.
 
^ That's what I also do.
I guess that's the only way unless you are a graphics wizard.
 
Something has happened in my version of NL.
Before when I put 3d's on a ride in the design screen I could go into '3D View and still see the mesh of the object and move it around to line it up.
Now I can only see the mesh in 'Top, front, back and side views.
It's a pain in the ass trying to line something up without being able to choose the best angle yourself. :x

Thanks if you can help.
 
^ Are you sure you haven't just disabled the "show Scenery" under "display" while in 3D-mode?
 
Thanks. I didn't know that the options were for each view and thought that if I changed it it affected all of them. Thanks (again). And like I said on MSN "You know too much" :p
 
Hmmm.... Well good so far, but could you make a guide on how to put the 3Ds onto the coasters, and how to upload coasters with 3Ds? It would be much appreciated.

Thanks in advance!
 
Top